Quick Fixes for Small Home Repairs in Lower Mainland
As a homeowner, I often find myself facing the inevitable wear and tear that comes with living in a space. Small repairs can seem daunting at first, but I’ve learned that many of these issues can be resolved with a little bit of knowledge and the right tools. Quick fixes not only save me money on professional services but also give me a sense of accomplishment and pride in maintaining my home.
Whether it’s a leaky faucet, a squeaky door, or a hole in the drywall, I’ve discovered that tackling these minor repairs can be both manageable and rewarding. In this article, I will share some of the most common small home repairs that I’ve encountered and the straightforward methods I’ve used to fix them. By arming myself with essential tools and techniques, I’ve been able to address these issues efficiently.
My goal is to empower you to take on these tasks with confidence, transforming your home into a well-maintained sanctuary. Let’s dive into the essential tools I’ve found indispensable for small home repairs.
Key Takeaways
- Quick fixes for small home repairs can save time and money in the long run.
- Essential tools for small home repairs include a hammer, screwdriver, pliers, and a utility knife.
- Fixing leaky faucets and pipes can be done with the right tools and materials.
- Repairing drywall holes and cracks requires spackling, sandpaper, and paint.
- Fixing squeaky doors and floors can be as simple as applying lubricant or tightening screws.
Essential Tools for Small Home Repairs
Over the years, I’ve come to realize that having the right tools at my disposal makes all the difference when it comes to tackling home repairs. A well-stocked toolbox is my best friend, and I’ve curated a list of essential tools that I believe every homeowner should have. First and foremost, a good set of screwdrivers—both flathead and Phillips—are crucial for various tasks.
I can’t count how many times I’ve needed to tighten screws or remove fixtures, and having these on hand has saved me time and frustration. In addition to screwdrivers, I’ve found that a reliable hammer is indispensable for driving nails and making minor adjustments. A tape measure is another must-have; it allows me to take accurate measurements before cutting materials or hanging items.
Furthermore, a utility knife is perfect for cutting through various materials, from cardboard to drywall. Lastly, I always keep a set of pliers and a wrench handy for plumbing tasks or when I need to grip or twist something securely. With these tools in my arsenal, I feel prepared to tackle almost any small repair that comes my way.
Fixing Leaky Faucets and Pipes

One of the most common issues I’ve encountered in my home is leaky faucets and pipes. Not only can they be annoying with their constant dripping sounds, but they can also lead to higher water bills if left unchecked. The first step I take when addressing a leaky faucet is to turn off the water supply to prevent any further leakage.
Once that’s done, I carefully disassemble the faucet using my trusty screwdriver, taking note of how everything fits together so I can reassemble it later. After removing the faucet handle, I usually find that the culprit is often a worn-out washer or O-ring. Replacing these parts is typically straightforward; I simply head to my local hardware store to find the right size.
Once I have the new parts, I reassemble the faucet and turn the water supply back on. To my delight, most of the time, this simple fix resolves the issue completely. If the leak persists, it may indicate a more significant plumbing problem that requires professional attention.
Repairing Drywall Holes and Cracks
| Size of Hole/Crack | Materials Needed | Time Required |
|---|---|---|
| Small (1-2 inches) | Spackling compound, putty knife | 30 minutes |
| Medium (2-4 inches) | Drywall patch, joint compound, sandpaper | 1-2 hours |
| Large (>4 inches) | Drywall patch, joint compound, mesh tape, sandpaper | 2-3 hours |
Drywall damage is another common issue that can occur in any home, whether from accidental bumps or general wear over time. When I notice holes or cracks in my walls, I don’t panic; instead, I gather my materials and get ready to repair them. For small holes, like those left by nails or screws, I use a simple spackling compound.
After cleaning the area around the hole, I apply the compound with a putty knife, smoothing it out until it’s flush with the wall. For larger holes, I’ve learned that using a patch is often necessary. I cut a piece of drywall slightly larger than the hole and secure it in place with screws.
Then, I apply joint compound over the seams and feather it out to blend with the surrounding wall. Once it dries, I sand it down for a smooth finish. This process may take a bit more time than fixing small holes, but the end result is always worth it when my walls look as good as new.
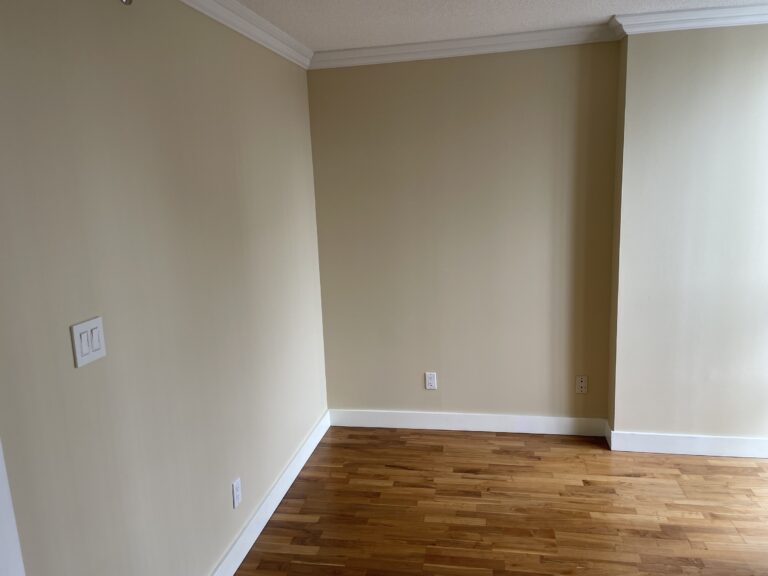
Patching and Painting Small Wall Damage
Once I’ve repaired any holes or cracks in my drywall, the next step is patching and painting to ensure everything looks seamless. After sanding down the joint compound until it’s smooth, I wipe away any dust with a damp cloth to prepare for painting. Choosing the right paint color is crucial; I always try to match it as closely as possible to the existing wall color for a uniform appearance.
When painting over patched areas, I use a small brush or roller to apply an even coat of paint. It’s essential to let each coat dry completely before applying another layer; this ensures that the color is consistent and covers any imperfections effectively. After two or three coats, depending on the severity of the damage, my wall looks as good as new again.
This process not only restores my walls but also gives me an opportunity to refresh my space with new colors if I choose.
Fixing Squeaky Doors and Floors
Squeaky doors and floors can be quite bothersome, especially when they disrupt the peace in my home. Fortunately, fixing these issues is often straightforward and requires minimal effort on my part. For squeaky doors, I start by identifying where the noise is coming from—usually from the hinges.
A few drops of lubricant or WD-40 applied directly to the hinges usually does the trick. After applying it, I open and close the door several times to work the lubricant into the hinges. When it comes to squeaky floors, things can be a bit trickier since they often involve floorboards moving against each other or against nails.
In these cases, I’ve found that sprinkling talcum powder between floorboards can help reduce friction and eliminate noise. If that doesn’t work, I may need to secure loose boards with screws or nails to minimize movement. These quick fixes have made my home much quieter and more comfortable.
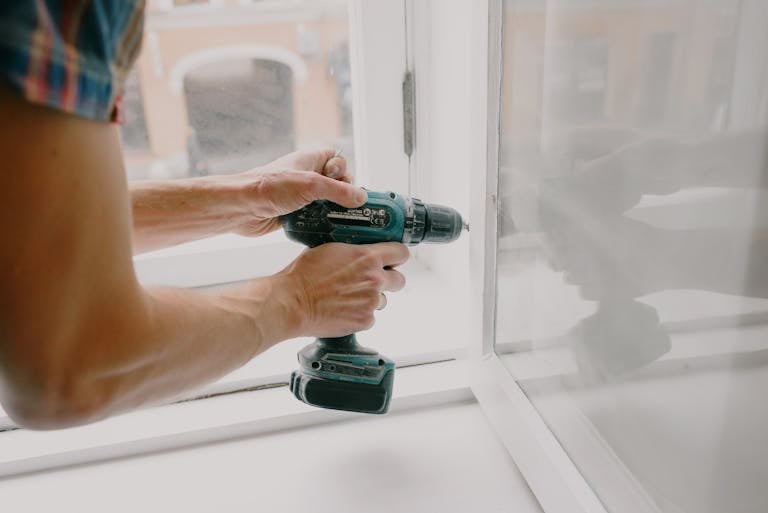
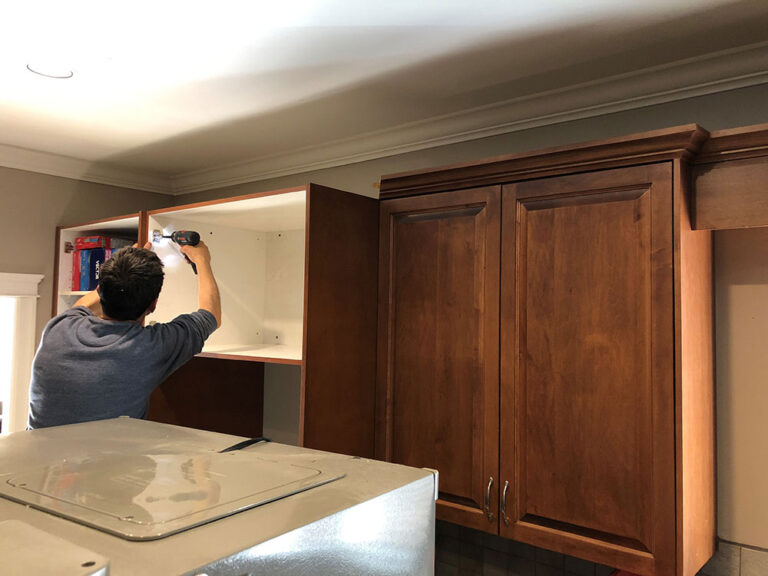
Repairing Loose or Wobbly Cabinet Doors
Loose or wobbly cabinet doors are another common annoyance in my home that can easily be fixed with a few simple steps. When I notice that a cabinet door isn’t closing properly or feels unstable, I first check the hinges for any loose screws. Using my screwdriver, I tighten any screws that may have come loose over time.
This often resolves the issue immediately. If tightening screws doesn’t do the trick, I may need to replace worn-out hinges altogether. It’s essential to choose hinges that match both in size and style for a cohesive look.
After removing the old hinges and installing new ones, my cabinet doors feel sturdy again. This small repair not only improves functionality but also enhances the overall appearance of my kitchen or bathroom cabinetry.
Fixing Loose or Leaky Toilet Seats
A loose or leaky toilet seat can be an irritating problem that’s surprisingly easy to fix. When I notice that my toilet seat isn’t secure or is wobbling during use, I first check the bolts underneath the seat for any signs of looseness. Using a wrench or pliers, I tighten these bolts until they’re snug but not overly tight—this ensures that they won’t break.
If tightening doesn’t resolve the issue or if there are signs of wear on the seat itself, replacing it may be necessary. Toilet seats are relatively inexpensive and come in various styles and colors to match my bathroom decor. After removing the old seat and installing a new one according to manufacturer instructions, I’m always pleased with how much more stable and comfortable it feels.
Repairing Minor Electrical Issues
While electrical repairs can sometimes be intimidating, there are minor issues that I’ve learned how to handle safely and effectively. One common problem is flickering lights or outlets that don’t work properly. Before attempting any repairs, I always ensure that power is turned off at the circuit breaker for safety reasons.
Once that’s done, I check for loose connections in light fixtures or outlets by removing their covers. If I find any loose wires, I carefully reconnect them using wire nuts or electrical tape as needed. In some cases, replacing an old light bulb or outlet may be all that’s required to resolve the issue completely.
However, if problems persist after these simple fixes, it’s wise for me to consult with a licensed electrician to avoid potential hazards.
Addressing Small Plumbing Problems
Small plumbing problems are another area where I’ve gained confidence over time. One common issue I’ve faced is clogged drains in sinks or tubs. When this happens, my first step is usually to try using a plunger; this often clears minor clogs quickly without needing any harsh chemicals.
If plunging doesn’t work, I’ve found that using a mixture of baking soda and vinegar can help break down buildup in pipes. For more stubborn clogs, I’ve learned how to use a plumber’s snake effectively to reach deeper blockages without damaging pipes. If all else fails and water continues to back up despite my efforts, calling in a professional plumber becomes necessary—but thankfully, most small plumbing issues can be resolved with these DIY methods.
Conclusion and Tips for Maintaining a Well-Maintained Home
In conclusion, tackling small home repairs has become an empowering aspect of homeownership for me. By equipping myself with essential tools and knowledge about common issues like leaky faucets or squeaky doors, I’ve been able to maintain my home effectively without relying heavily on professionals for every little problem. The satisfaction of completing these repairs myself has not only saved me money but has also given me greater appreciation for my living space.
To maintain a well-kept home moving forward, I’ve learned that regular inspections are key—checking for signs of wear or damage before they escalate into larger problems helps me stay ahead of maintenance needs. Additionally, keeping my toolbox stocked with essential tools ensures I’m always prepared for whatever minor repairs may arise in the future. With these tips in mind, I’m confident that anyone can take charge of their home maintenance journey!
If you’re looking to tackle small home repairs in the Lower Mainland, you might find inspiration from various renovation projects that have been successfully completed in the area. One such project is the LED repairs in Richmond, which showcases how even minor updates can significantly enhance the functionality and aesthetics of a home. This project highlights the importance of attention to detail and the impact of modernizing essential elements within your living space. Whether you’re considering a simple fix or a more comprehensive renovation, exploring these projects can provide valuable insights and ideas for your own home improvements.
FAQs
What are small home repairs?
Small home repairs refer to minor maintenance and repair tasks that need to be done around the house. These can include fixing leaky faucets, repairing drywall, replacing light fixtures, and other similar tasks.
What are some common small home repairs in the Lower Mainland?
Common small home repairs in the Lower Mainland can include fixing squeaky doors, repairing damaged window screens, patching holes in walls, and addressing minor plumbing issues.
Why are small home repairs important?
Small home repairs are important because they help maintain the overall condition and value of a home. Addressing minor issues promptly can prevent them from becoming larger, more expensive problems in the future.
Can I do small home repairs myself?
Many small home repairs can be done by homeowners with the right tools and knowledge. However, for more complex or potentially dangerous tasks, it’s best to hire a professional.
How can I find a reliable professional for small home repairs in the Lower Mainland?
To find a reliable professional for small home repairs in the Lower Mainland, you can ask for recommendations from friends and family, search online for local contractors, and read reviews from previous customers. It’s also important to verify that the professional is licensed and insured.