Step-by-Step Kitchen Remodeling Tips
When I embarked on my kitchen renovation journey, the first step I took was to set a budget. This was crucial, as it would dictate every decision I made moving forward. I began by researching the average costs associated with kitchen renovations in my area, which helped me establish a realistic financial framework.
I considered various factors, such as the size of my kitchen, the extent of the renovations I wanted, and the quality of materials I was willing to invest in. By doing this, I was able to create a budget that not only covered the essentials but also allowed for some flexibility in case unexpected expenses arose. As I delved deeper into the budgeting process, I realized the importance of prioritizing my needs versus my wants.
I made a list of must-haves, such as new cabinets and countertops, while also identifying areas where I could save money, like opting for a more affordable backsplash. This exercise helped me allocate funds more effectively and avoid overspending in certain areas. Additionally, I set aside a contingency fund to cover any surprises that might pop up during the renovation.
By taking the time to establish a solid budget, I felt more confident and prepared to tackle the upcoming challenges of my kitchen remodel.
Key Takeaways
- Establish a clear budget before starting your kitchen renovation to manage costs effectively.
- Plan and design the kitchen layout carefully to maximize space and functionality.
- Select durable materials and energy-efficient appliances that fit your style and needs.
- Complete necessary demolition, electrical, and plumbing updates before installing new fixtures.
- Finish with painting, lighting upgrades, decor, and a thorough final inspection for a polished look.
Planning and Designing the Layout
With my budget in place, the next step was planning and designing the layout of my new kitchen. I spent hours sketching out different configurations and considering how I wanted the space to function. I wanted to create an efficient workflow that would make cooking and entertaining a breeze.
To achieve this, I focused on the classic work triangle concept, which emphasizes the relationship between the stove, sink, and refrigerator. By ensuring these key elements were positioned within easy reach of one another, I aimed to enhance both functionality and convenience. In addition to functionality, I also wanted to create an aesthetically pleasing design that reflected my personal style.
I explored various design themes, from modern minimalism to rustic charm, and ultimately settled on a contemporary look with warm wood tones and sleek finishes. To visualize my ideas better, I utilized design software that allowed me to create a 3D model of my kitchen. This tool was invaluable in helping me see how different elements would come together and allowed me to make adjustments before committing to any decisions.
Choosing the Right Materials and Appliances
Once I had a clear layout in mind, it was time to choose the right materials and appliances for my kitchen renovation. This part of the process was both exciting and overwhelming, as there were countless options available. I started by researching different types of countertops, cabinets, and flooring materials.
After much deliberation, I decided on quartz for the countertops due to its durability and low maintenance requirements. For cabinets, I opted for solid wood with a natural finish that would complement the overall design. Selecting appliances was another significant aspect of this phase.
I wanted energy-efficient options that would not only enhance the kitchen’s functionality but also reduce my utility bills in the long run. After comparing various brands and models, I settled on stainless steel appliances that offered both style and performance. The refrigerator had ample storage space, while the oven featured advanced cooking technology that would make meal preparation more enjoyable.
By carefully considering my choices, I felt confident that I was investing in quality materials and appliances that would stand the test of time.

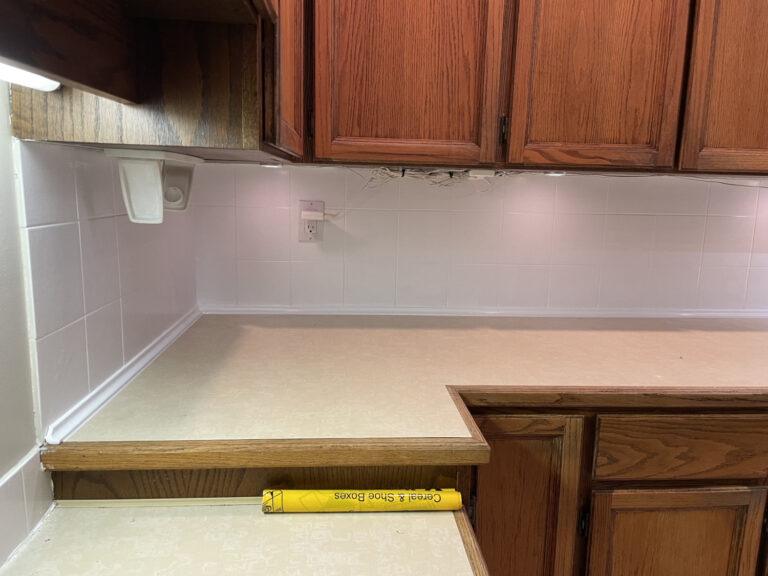
Demolition and Removal of Old Fixtures
With all my selections made, it was finally time to move forward with the demolition and removal of old fixtures. This stage was both exhilarating and daunting; it marked the beginning of transforming my vision into reality. Armed with safety goggles and a sledgehammer, I took on the task of tearing down old cabinets and removing outdated appliances.
The process was cathartic as I watched my old kitchen disappear piece by piece, making way for something new and fresh.However, demolition wasn’t without its challenges. As I began removing tiles from the backsplash, I discovered that some were stubbornly glued in place.
This required extra effort and patience on my part, but I reminded myself that this was all part of the renovation journey. Once everything was cleared out, I took a moment to appreciate the empty space before me; it felt like a blank canvas ready for transformation. The sense of accomplishment I felt after completing this phase fueled my excitement for what was to come next.
Electrical and Plumbing Updates
After successfully demolishing the old fixtures, it was time to address any necessary electrical and plumbing updates. This step was crucial for ensuring that my new kitchen would function safely and efficiently. I consulted with licensed professionals who assessed my current systems and recommended upgrades where needed.
They identified outdated wiring that needed replacement and suggested adding additional outlets for convenience. In terms of plumbing, we discussed relocating the sink to better fit my new layout. This required rerouting pipes and ensuring everything met local building codes.
While this phase involved some disruption, it was essential for creating a functional kitchen space. Watching the professionals work gave me confidence that everything would be up to standard when it came time to install new fixtures. Knowing that these updates were being handled properly allowed me to focus on other aspects of the renovation without worry.
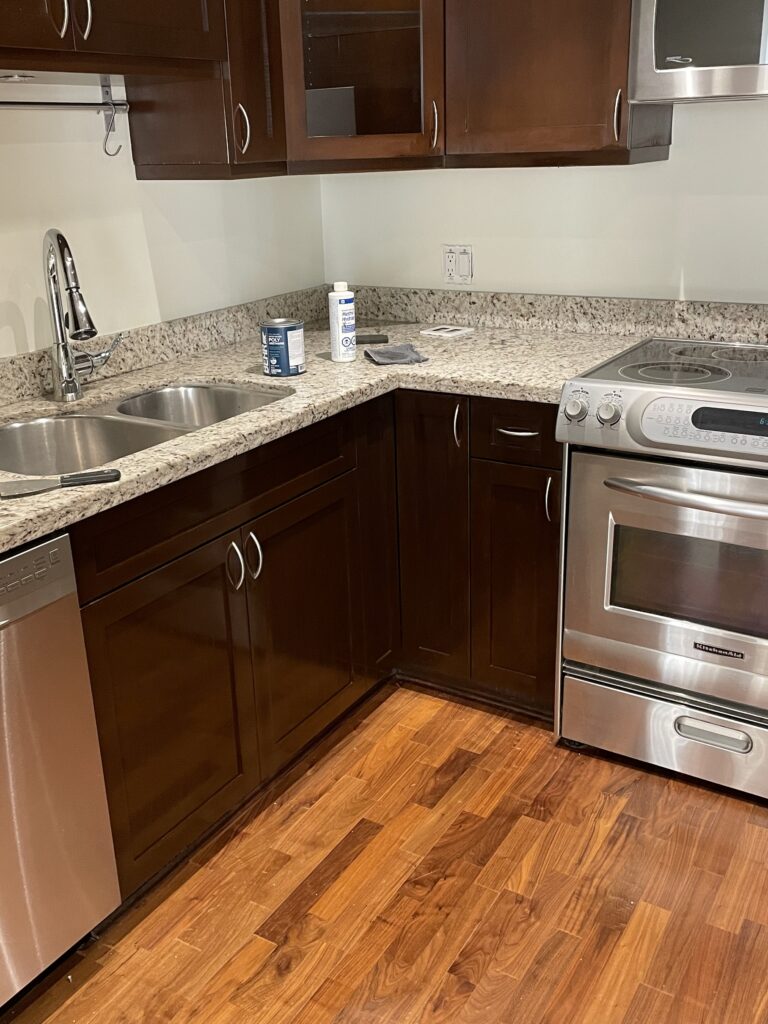
Installing New Cabinets and Countertops
With the electrical and plumbing work completed, it was time for one of the most exciting phases: installing new cabinets and countertops. The arrival of my custom cabinets felt like a milestone moment in my renovation journey. As they were carefully placed into position, I could already envision how beautiful my kitchen would look once everything was complete.
The installation process required precision and attention to detail; each cabinet needed to be level and securely anchored. Once the cabinets were in place, it was time for the countertops to be installed. Watching the installers carefully measure and cut the quartz slabs was fascinating; it felt like an art form in itself.
When they finally set the countertops in place, I couldn’t help but admire their beauty and functionality. The combination of rich wood tones from the cabinets with the sleek surface of the quartz created a stunning visual contrast that perfectly aligned with my design vision.

Flooring and Backsplash Installation
With cabinets and countertops installed, it was time to turn my attention to flooring and backsplash installation. Choosing flooring was another critical decision; I wanted something durable yet stylish that could withstand heavy foot traffic while still looking great. After much consideration, I opted for luxury vinyl planks that mimicked hardwood but offered superior water resistance—a perfect fit for a kitchen environment.
The installation process for both flooring and backsplash was labor-intensive but incredibly rewarding. As each plank was laid down, I could see how it transformed the space into something warm and inviting. The backsplash installation added another layer of character; I chose a classic subway tile in a soft white hue that complemented both the cabinets and countertops beautifully.
Watching these elements come together made me feel like my dream kitchen was finally taking shape.
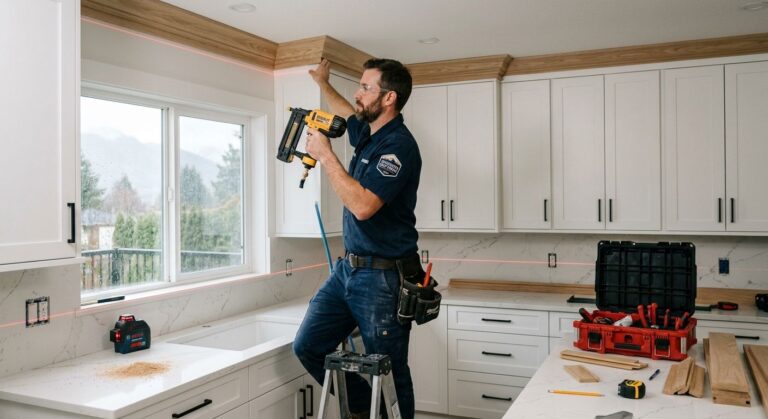
Painting and Finishing Touches
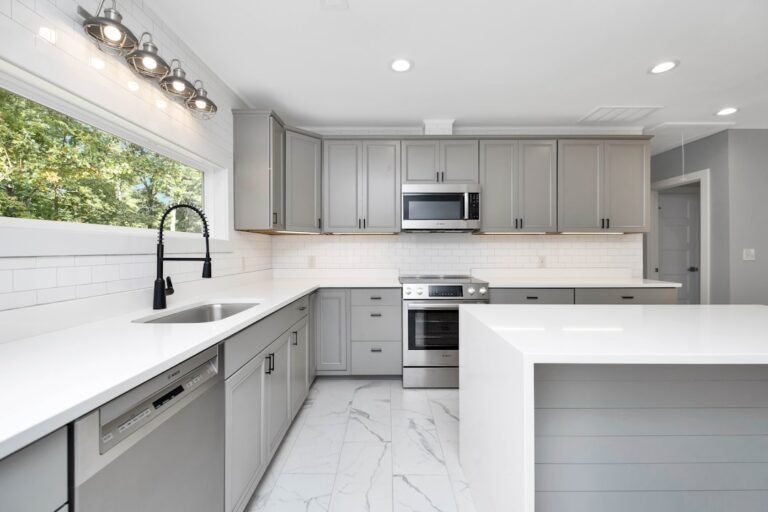
As flooring and backsplash installation wrapped up, it was time for painting and adding those all-important finishing touches. Choosing a paint color was an exciting yet challenging task; I wanted something that would enhance the overall aesthetic without overwhelming the space. After testing several swatches on the walls, I settled on a soft gray that provided a modern backdrop while allowing other elements to shine.
Once the walls were painted, it was time to add hardware to cabinets and drawers—these small details made a significant impact on the overall look of my kitchen. Selecting brushed nickel handles added a touch of elegance while maintaining a contemporary feel. Additionally, I installed under-cabinet lighting that illuminated both workspaces and showcased my beautiful backsplash.
These finishing touches brought everything together beautifully, making me feel proud of what had been accomplished.
Upgrading Lighting Fixtures
Lighting played a crucial role in enhancing both functionality and ambiance in my newly renovated kitchen. With this in mind, I carefully selected lighting fixtures that would complement my design while providing adequate illumination for various tasks. Pendant lights above the island became a focal point; their sleek design added visual interest while offering practical lighting for food preparation.
In addition to pendant lights, I also upgraded recessed lighting throughout the kitchen to ensure even illumination across all areas. This combination created layers of light that made the space feel warm and inviting—perfect for both cooking meals and entertaining guests. As I stood back to admire how everything came together, I felt an overwhelming sense of satisfaction knowing that each detail contributed to creating an inviting atmosphere.
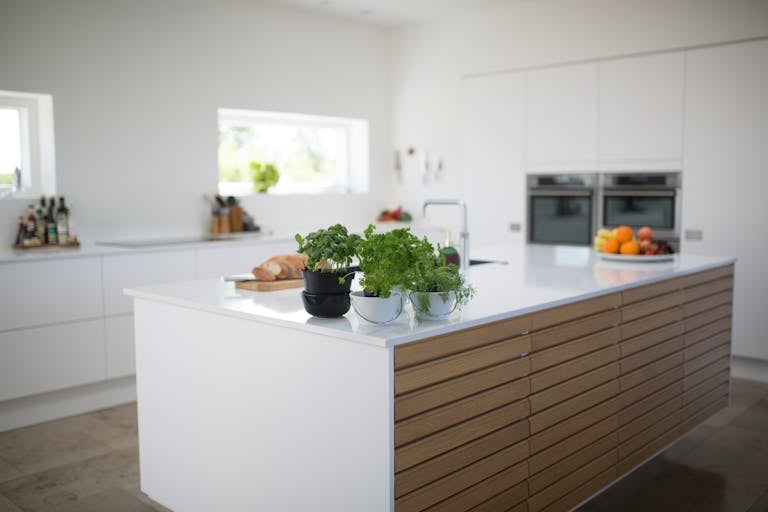
Adding Decor and Personal Touches
With all major installations complete, it was time for one of my favorite parts: adding decor and personal touches to truly make the space feel like home. I began by selecting decorative items such as colorful dishware displayed on open shelves and vibrant plants that added life to countertops. These small details helped infuse personality into my kitchen while also serving practical purposes.
I also took time to curate artwork that resonated with me—framed prints depicting culinary scenes or abstract designs added character without overwhelming the space’s overall aesthetic. Personal touches like family photos or heirloom pieces found their way into nooks around the kitchen, creating an inviting atmosphere filled with warmth and memories. As each piece came together, it became clear that this kitchen wasn’t just functional; it reflected who I am.
Final Inspection and Clean-Up
As my renovation journey neared its conclusion, it was time for a final inspection and clean-up before officially unveiling my new kitchen. This step involved meticulously checking every detail—from ensuring all appliances were functioning correctly to confirming that no stray paint splatters marred surfaces. It felt rewarding to see how far everything had come since those initial demolition days.
Once satisfied with every aspect of my new kitchen, I rolled up my sleeves for one last clean-up session—removing dust from surfaces and ensuring everything sparkled before inviting friends over for a celebratory gathering. Standing in my newly renovated space filled me with pride; not only had I transformed an outdated kitchen into something beautiful but also created an environment where memories would be made for years to come. In conclusion, embarking on a kitchen renovation is no small feat; it requires careful planning, creativity, and dedication at every stage—from setting a budget through final inspection and clean-up.
However, witnessing each phase come together is incredibly rewarding; it transforms not just a physical space but also enhances daily life within it—making every meal shared or moment spent in this heart of the home truly special.
If you’re considering a kitchen remodel, you might find our article on Delta House Renovation particularly insightful. It showcases a comprehensive transformation that highlights effective design choices and practical solutions, which can serve as inspiration for your own kitchen remodeling project.
FAQs
What is the first step in a kitchen remodeling project?
The first step is to plan your remodel by assessing your current kitchen, setting a budget, and determining your goals and priorities for the new space.
How long does a typical kitchen remodel take?
A typical kitchen remodel can take anywhere from 6 to 12 weeks, depending on the scope of work, complexity, and whether structural changes are involved.
Do I need a permit for kitchen remodeling?
Permits are often required for major changes such as electrical, plumbing, or structural work. It’s important to check with your local building department before starting the project.
Should I hire a professional or do it myself?
Hiring a professional contractor is recommended for most kitchen remodels to ensure quality workmanship and compliance with building codes. DIY may be suitable for minor updates or if you have experience.
How can I stay within budget during a kitchen remodel?
Create a detailed budget, prioritize essential upgrades, get multiple quotes from contractors, and plan for a contingency fund to cover unexpected expenses.
What are some popular kitchen design trends?
Popular trends include open shelving, two-tone cabinetry, quartz countertops, energy-efficient appliances, and smart kitchen technology.
How do I choose the right materials for my kitchen remodel?
Consider durability, maintenance, style, and budget when selecting materials for cabinets, countertops, flooring, and backsplashes.
What should I consider when designing kitchen layout?
Focus on the work triangle concept (sink, stove, refrigerator), traffic flow, storage needs, and lighting to create an efficient and functional kitchen.
Can I remodel my kitchen without changing the layout?
Yes, you can update cabinets, countertops, appliances, and finishes without altering the existing layout to refresh the space with less disruption.
How do I prepare my home for a kitchen remodel?
Clear out the kitchen, set up a temporary cooking area, protect other parts of the home from dust and debris, and communicate with your contractor about the schedule.